Table of Contents
Hi, I’m Miles – you may know me online as Expired Film Club. I am a film photographer who specialises in shooting sports on film, using old 35mm and medium format film cameras to capture meaningful moments in the world of sport and beyond. Over the past couple of years, I have been lucky enough to find myself at some of the most prestigious sporting events in the world, which has led to travelling a lot with my film cameras in hand.
I love shooting film in the various locations I find myself in, and in fact, some of my favourite photos I’ve ever taken have been candid moments whilst wandering the streets of foreign towns and cities. In this article, I’m going to share all of my tips on how to get the most out of shooting film on your travels!
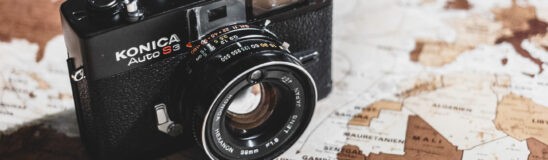
Choosing your camera
So, obviously to start taking film photos, you need a film camera! There are plenty of amazing film cameras out there for a very reasonable price, and it might be a bit daunting to know where to start. As many film cameras haven’t been produced regularly for quite a few years, you’re most likely going to pick one up second hand. This comes with its drawbacks – you want to make sure to get a good, working camera in nice, clean condition. If you find one of those, of which there are plenty around, you can sleep soundly knowing that you’re giving a beautiful piece of engineering a new life.
So, which type of camera is best for you? Well, have a read below and decide for yourself.
1. Disposable cameras
The simplest and easiest to find of all film cameras, the humble disposable camera is synonymous with travel photos. You can even normally find some in the airport as you travel to your destination, and they are perfect for people just looking for something they can throw in a bag and carry around without any worry of getting damaged or being expensive to replace.
All you need to worry about is pointing the camera where you want to, taking a photo and winding the film on! You don’t even need to worry about putting the film in or taking it out, as the film is already inside the camera.
2. Point & shoots
If you’re wanting something that is nice and simple to use, but that also gives you the option to use different rolls of film, and has that bit of extra image quality over a disposable – you’ll be wanting a point & shoot. These are very compact cameras with little to no manual controls, so they’re a great way of getting into film if you don’t have much knowledge or experience with photography.
There are loads to choose from, but here are a few of the key attributes of great point & shoot cameras:
- A flash: A flash is important with point & shoot cameras, as you don’t normally have much control over the exposure, so having a flash will mean you can still get great results in low light scenarios.
- Low aperture: Essentially, the lower the aperture, the better, as this means your lens can allow more light onto the film, which is good. What you’re looking for is a number that usually follows the characters ‘f/’ and this signifies the aperture of the lens on your point & shoot. Something around f/4 and under would be considered good for a point & shoot, and anything f/2.8 and lower is excellent.
- A wide lens: Having a wide lens means you can fit a lot into your photos, which is great for a point & shoot as you can use it very easily to capture intimate moments with friends and family, as well as beautiful landscapes on holiday etc. Look for a camera that has a low number followed by ‘mm’ and you’ll be able to get nice, wide shots – somewhere around 28mm or 35mm would be perfect.
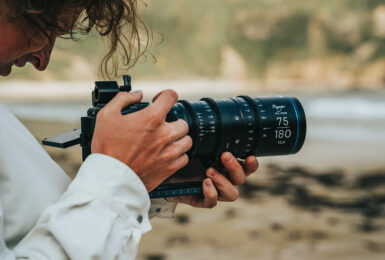
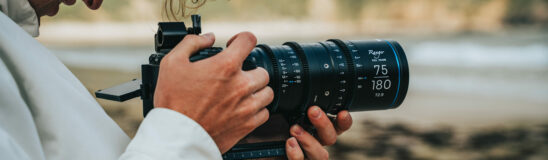
3. SLRs
If you’re looking to have more control over your photos, and the ability to interchange different lenses and accessories, you’ll be wanting an SLR. SLR stands for ‘Single Lens Reflex,’ and these are probably the types of film cameras you’ll associate with film photography more than any other due to their popularity and beautiful image quality. There are a ton of options to choose from, so hopefully looking out for these features will help you to decide:
- Internal light meter: This is something that will be very important to have in an SLR if you’re just starting out with film photography, as an internal light meter will be able to suggest best settings depending on the lighting scenario you’re shooting in.
- Automatic mode: This is a bonus for a first SLR camera, but not necessarily a requirement. It’s great to help you along your way to understanding how to work a film camera as, if you have a camera and lens with automatic modes, all you’ll need to worry about is framing and focus whilst you’re learning the ropes! Then, as you become more confident, you can switch the camera into manual mode to have full control.
Other than that, go with your gut! I know I definitely feel more attracted to getting certain cameras over others for reasons that are hard to justify, but if you see a camera you like and can afford, go for it!

Image source:Miles Myerscough-Harris
Choosing your film
The next thing to consider (unless you’re using a disposable) is which film you would like to bring with you. There are two real factors to consider here – colour or black and white, and which ISO (sensitivity to light) film you would like. The colour or black and white decision is totally up to your own taste, although black and white film tends to be cheaper than colour, but it obviously means your photos will come out in black and white, which can be a shame if you’re heading somewhere particularly colourful – but it can also make for some extremely powerful and striking imagery.
The next thing to consider is the ISO of the film you’d like to take. In simple terms, the higher the ISO, the more sensitive to light the film will be, so you will want to take that into consideration when you’re choosing which films to bring with you. If you’re likely to be somewhere very sunny and taking a lot of photos outside during the day, then lower ISO film will be fine for you. Lower ISO films are also cheaper than higher ISO films!
If you want films that will be good in low-light scenarios, then make sure to bring some higher ISO films to get the most out of the lack of light. The great thing about using film cameras that aren’t disposables is the ability to change films, so you can bring a whole selection of different films on your travels to make the most of every situation you’re in!

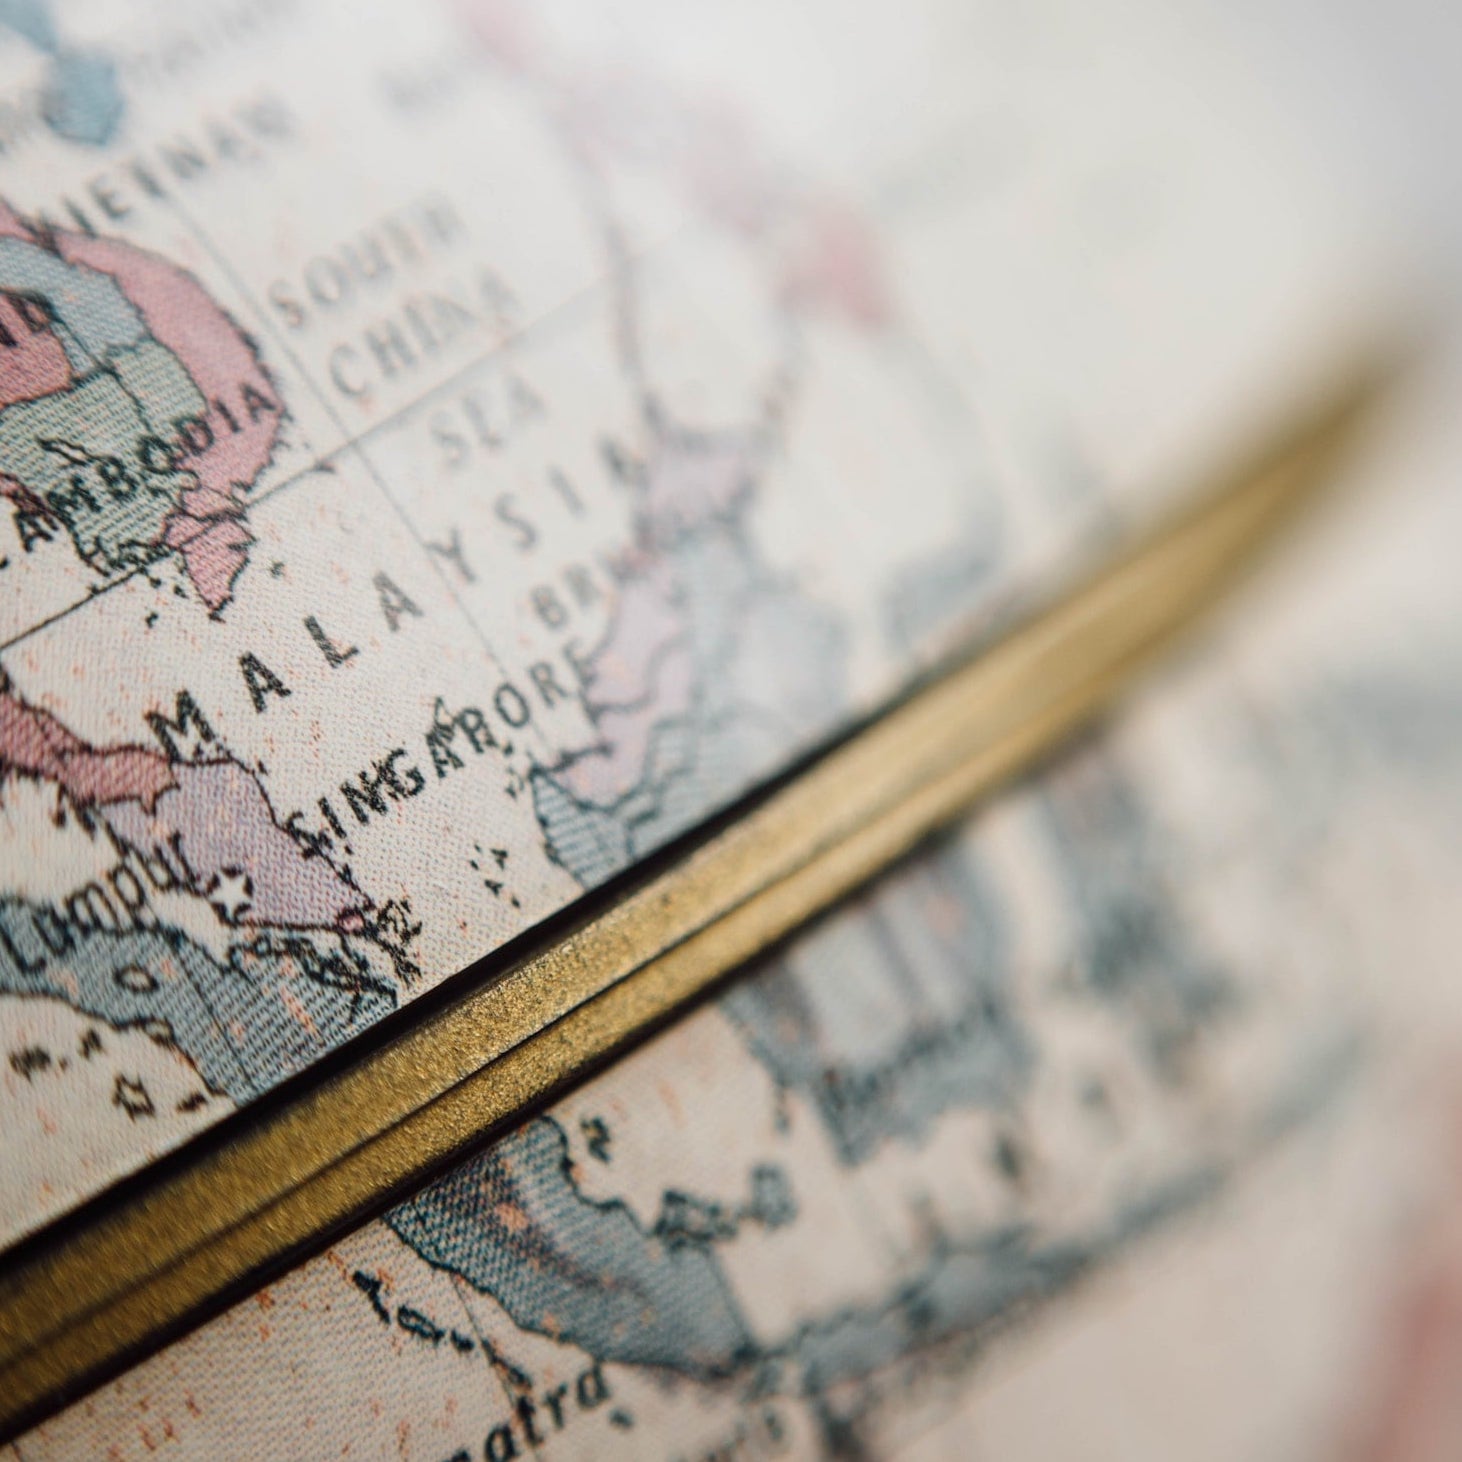
Getting through the airport with film
There is something else to consider when travelling with film, which is that film can get damaged by security scanners at airports. How bad the damage can be depends on the type of scanner and the sensitivity of the film, but in general it’s best to very nicely ask the security staff to hand-search your films. This can be done as you approach the scanners where you are asked to remove your laptop and liquids etc.
Your success will be determined by the airport itself and how helpful the staff feel like being, but it’s always best to ask anyway as this will remove the risk of your film being damaged by the scanners if they agree – and in my experience, they mostly do.
Higher ISO films are more susceptible to damage from the scanners due to their higher sensitivity, so you want to be extra careful with those. A lot of staff will insist that film 800 ISO or below is safe to go through the scanners (which isn’t strictly true) so I always make sure to have a roll of 3200 ISO black and white film with me to show to the staff – once they see that they are far more likely to hand-search as they are trained to know that film that sensitive will most likely be damaged by the scanner.
If this all fails, fear not – a lot of the lower power x-ray scanners that are used in airports won’t show any noticeable signs of damage on films of lower ISOs if they just go through once or twice.
Some airports have newer, more powerful CT scanners that will damage all film, but every single time I’ve been to an airport with one of those, the staff are trained to hand-search any film of any ISO, which has been helpful. Even so, I always make sure to carry a Domke bag to put my film in, which protects it from scanner damage. A very good investment!
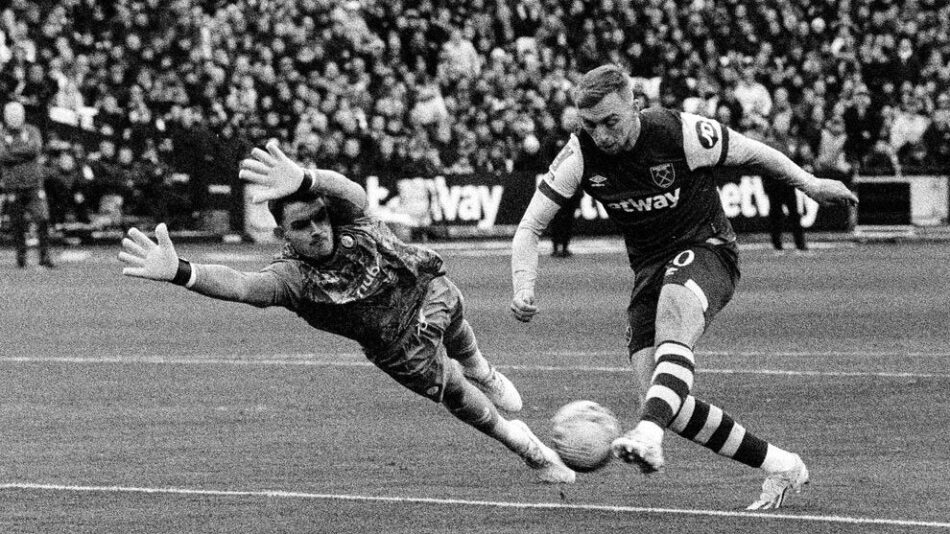
Image source:Miles Myerscough-Harris
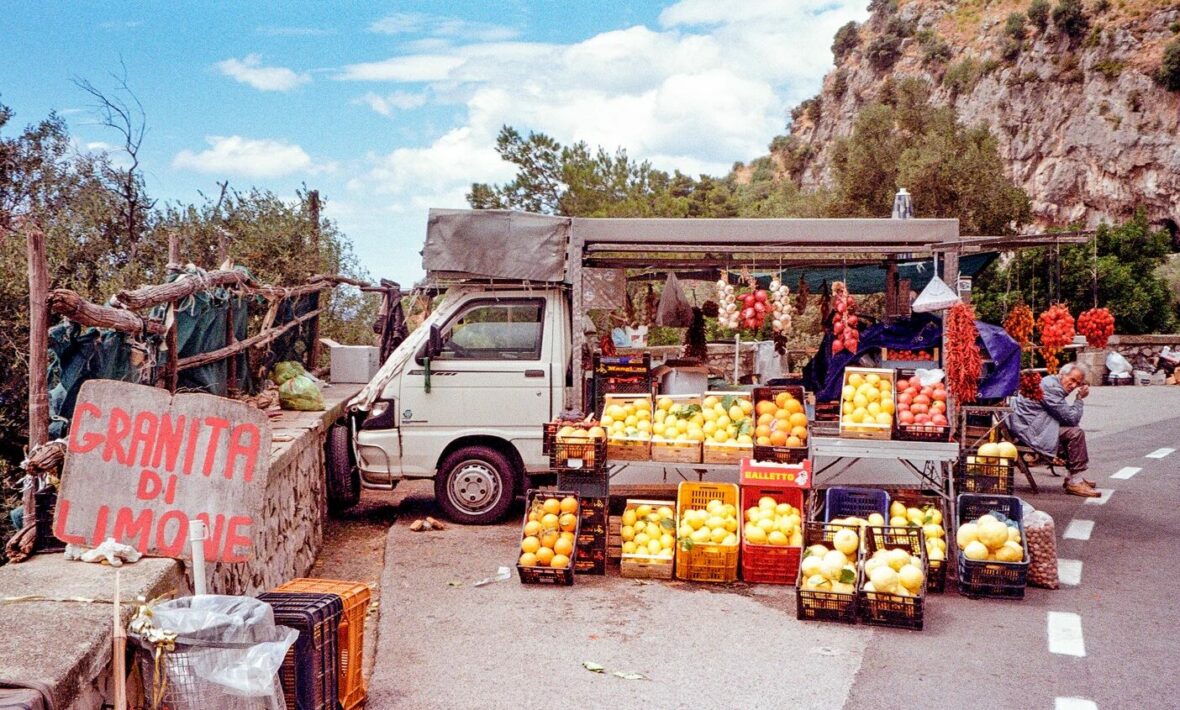
Taking your photos
And now comes the fun bit – taking your holiday snaps! Shooting film is so much fun, and it really makes you appreciate all of the moments that you decide to fire the shutter on even more. Having only 24 or 36 photos per roll of film really makes you intentional about the moments you decide to capture, and those vintage, grainy tones will really make those memories even more special.
It’s totally up to you what you would like to take photos of when you’re travelling – the scenery, the people, street photos, arty shots and everything in between – the world really is your oyster. The main thing to remember when shooting film is to NOT open the back of the camera once you have started shooting a roll, and always remember to rewind it again when you’ve finished!
Some cameras will do this for you, and you obviously don’t need to worry about that with a disposable camera, but opening the camera up once film is inside it will possibly ruin any of the photos you’ve taken.
Once you’ve shot all your film, now all you need to do is get it processed!
Processing your film
This can be done in a number of places, and nowadays there are more film labs popping up all the time. I sometimes like to get my film processed in the place I’ve travelled to, which only needs a quick Google search to figure out where that might be (simply search film lab in …’ and you can find film labs local to where you are staying).
Or, you can bring the film back with you (making sure to take the same steps at airport security) and use a lab where you live. My personal favourite film lab in the UK is Analogue Wonderland, who accept film mailed into them as well as dropping it off, so you can send them your film from anywhere and receive your scans back as a download link!
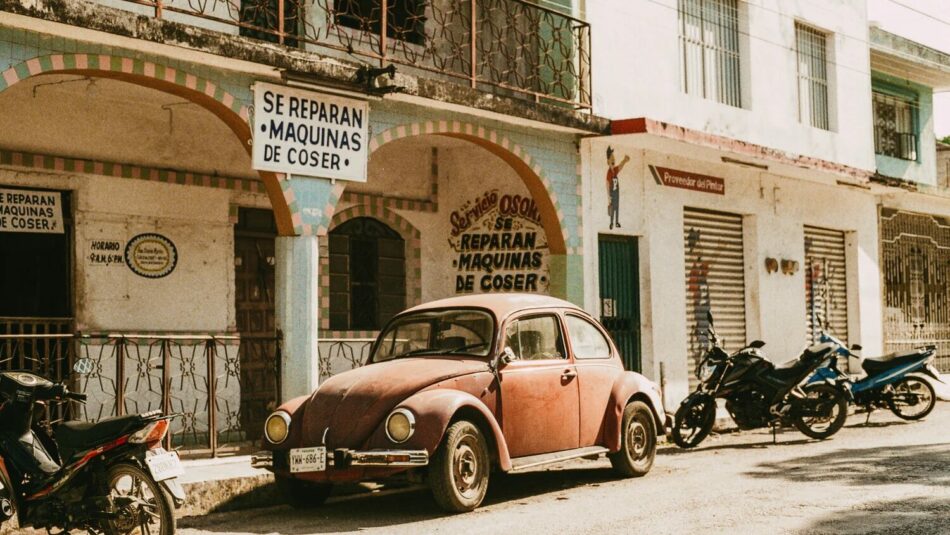
Image source:Miles Myerscough-Harris
Enjoy your photos!
Now you’ve got your photos back from the lab, you can do with them whatever you wish – print them, share them on social media for the perfect photo dump, or frame them and put them on the wall, but make sure you bask in the glory of the images you have made!